
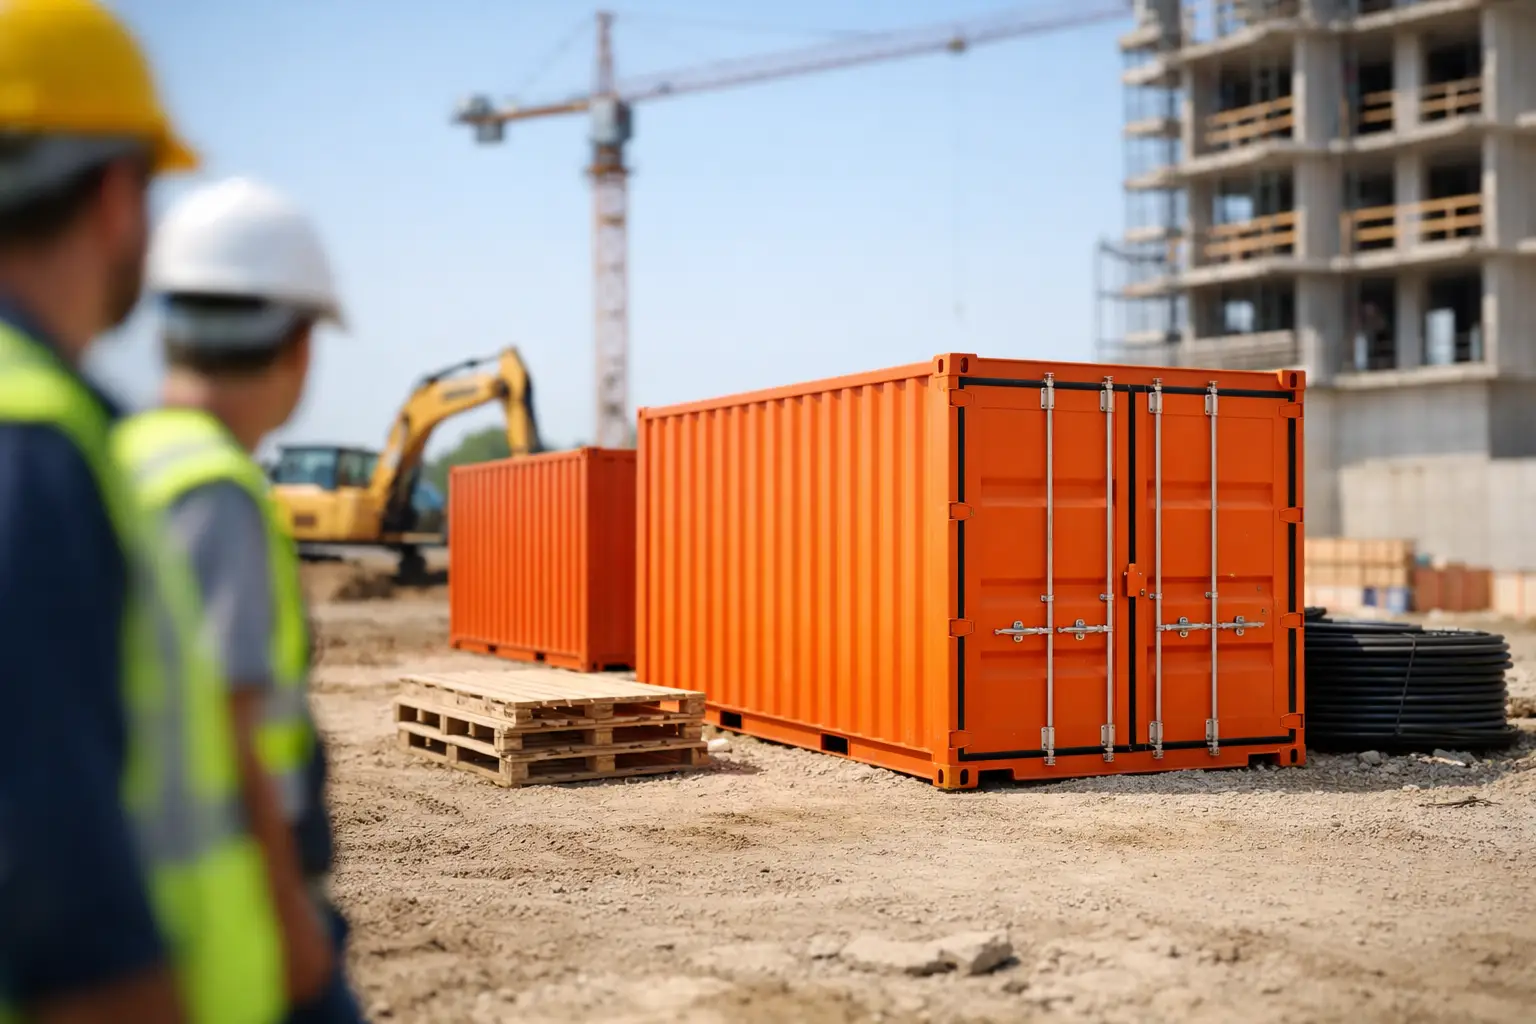
Construction Container Rental Guide for Job Sites
A job site can get expensive fast when tools are scattered, materials are exposed to weather, and crews lose time looking for what they need. This construction container rental guide explains how to choose a portable storage container that helps keep equipment protected, the site organized, and your schedule moving.
For contractors, remodelers, and property owners, a storage container is more than a place to put extra stuff. It can serve as a locked tool room, a dry materials area, a staging point for deliveries, or temporary storage while a project moves from demolition to finish work. The best choice depends on the job, the site, and how long you need it.
Start With What the Container Needs to Hold
The right container size is not just about square footage. Think about what will go inside, how often the crew needs access, and whether items need to be organized instead of stacked wall to wall.
A smaller container can work well for hand tools, boxed hardware, paint, small equipment, and supplies for a short renovation. It takes up less room on a tight residential driveway or compact commercial site. A larger container makes more sense when you need to store bulky materials, multiple trade tools, job-site equipment, or inventory for a longer project.
Before renting, make a quick inventory of the items you expect to store. Include materials that have not arrived yet. Lumber, doors, cabinets, flooring, fixtures, and appliances can take up far more room than expected once they are delivered. Leave enough space for a clear path inside the container so workers can reach the right item without unloading half the contents first.
Weight matters too. Heavy items should be placed low and distributed across the floor rather than concentrated at one end. If you are storing equipment with fluids, sharp edges, or loose parts, plan for proper containment and secure the load before the container is moved.
Choose a Rental Term That Matches the Project, Not the Estimate
Construction schedules change. Weather delays, inspection timing, material shortages, and client decisions can all stretch a project beyond the original plan. That is why flexible monthly rental terms are often a better fit than trying to predict an exact end date from the start.
For a quick repair or small remodel, you may only need on-site storage for a few weeks. For a new build, commercial renovation, or phased project, the container may need to stay for several months. Ask how extensions work before delivery so you know what happens if the work runs long.
It also helps to decide whether you need the container only on-site or whether you may need it moved later. A portable storage container can stay at the job site while crews work, then be transported to a new project location or placed in secure off-site storage. That flexibility can be useful when a project wraps up but the owner is not ready to receive leftover materials, archived files, fixtures, or equipment.
Plan the Delivery Location Before the Container Arrives
A container is only useful if it is placed where your crew can access it safely and efficiently. The delivery area should be firm, reasonably level, and clear of vehicles, debris, low branches, overhead wires, and other obstructions.
On a residential project, the driveway is often the most practical location. It keeps tools close to the work area and avoids repeated trips to a storage unit. On a commercial project, the best location may be near a loading zone, behind the building, or along the edge of the site where it will not block deliveries, parking, or emergency access.
Think through the door swing and walking path. You do not want container doors opening into an active traffic lane or forcing workers to carry materials across rough ground. If the container will hold frequently used tools, position it close enough to reduce wasted time but not so close that it interferes with excavation, concrete work, dumpsters, or equipment movement.
Check local rules before scheduling delivery. Some neighborhoods, property managers, and municipalities have restrictions on where a container can be placed or how long it may remain on-site. A contractor may also need approval from a property owner or general contractor. Confirming those details early prevents an avoidable relocation later.
Prioritize Protection, Not Just Empty Space
Construction materials are expensive, and many are easily damaged by moisture. Cardboard packaging, flooring, cabinetry, drywall-related products, electrical components, and finish materials all need a dry place to wait until installation.
Look for a weatherproof steel container with doors that close securely and seal well. Double-sealed doors and proper ventilation help protect stored contents from rain and reduce the stale, trapped-air conditions that can be a problem during long rentals. Steel construction also provides more protection than a temporary tent, open trailer, or unsecured garage.
Security still requires good habits. Lock the container whenever the site is unattended, keep high-value tools out of view when possible, and maintain a simple inventory of major equipment. Assign responsibility for keys or lock codes, particularly when several subcontractors use the site. A container can reduce opportunity for theft, but a disorganized access routine can create its own problems.
Do not store prohibited, hazardous, or flammable items unless the rental provider has specifically confirmed they are allowed. Gasoline, propane cylinders, chemicals, and certain paints or solvents may require a different storage approach. When in doubt, ask before loading.
Make Daily Access Easier for the Crew
The fastest way to turn a useful container into a frustrating one is to load it without a plan. Put the items used every day near the doors. Group supplies by trade or task, and keep smaller parts in labeled bins rather than loose boxes.
For longer projects, basic shelving can make a major difference. Keep heavier materials on the floor, stack lighter boxes safely, and leave a center aisle for access. If the crew regularly receives deliveries, designate a clear area for new materials so they do not disappear into the back of the container.
It is also worth thinking about the order in which the job will happen. Demolition tools may be needed first, followed by rough-in supplies, then finish materials. Loading in project order can reduce unnecessary handling and help prevent damage to items that will not be needed for weeks.
Compare the Full Cost of the Rental
The monthly container rate is only one part of the decision. Ask about delivery, pickup, transportation to another location, off-site storage, and any charges related to extended distance or difficult access. A clear quote should help you understand what is included and what may change if your plans change.
Compare that cost with the time and expense of alternatives. A traditional storage unit may require repeated driving, unloading, and reloading. A truck rental may create pressure to complete a move or material transfer in a single day. Leaving tools in open job-site conditions can lead to damage, theft, and replacement costs.
For many projects, having storage delivered directly to the site reduces those extra trips and keeps the crew focused on billable work. It depends on the project, of course. If you only need to store a few boxes for a day, a container may be more space than necessary. But for an active job with valuable tools and recurring deliveries, convenience can be worth more than the lowest advertised monthly price.
Ask How the Container Is Delivered and Moved
Delivery equipment matters, especially on finished driveways, narrow sites, and uneven ground. Ask how the provider places the container and whether it stays level during delivery and transport. Keeping a loaded container level helps reduce shifting inside, which is particularly useful when it contains tools, boxed fixtures, or carefully staged materials.
MODS uses a Level Lift delivery system designed to keep containers level as they are loaded and unloaded from the truck. That can help protect both the stored contents and the organized loading plan your crew has put in place.
Also discuss access constraints before delivery day. Share photos or details about gates, turns, slopes, overhead lines, and surface conditions. A few minutes of planning can prevent a missed delivery or a container placed farther from the work area than intended.
Construction Container Rental Guide: A Better Job-Site Routine
The best container rental supports the way your project actually runs. It gives crews a dependable place for tools and materials, protects items from changing weather, and stays available as long as the work requires. Size it for the real load, place it with access in mind, and choose a provider that explains delivery, pricing, and scheduling clearly.
A well-organized container will not solve every construction delay. It can, however, eliminate a surprising amount of daily friction – fewer supply runs, less clutter, safer access to materials, and less time spent searching for equipment when the crew should be working.