
12 Best Renovation Storage Ideas That Work
A renovation can turn a comfortable home into a maze of dust, tools, open boxes, and furniture that suddenly has nowhere to go. The best renovation storage ideas solve that problem before the first wall comes down. They protect the things you want to keep, give contractors room to work, and help your household keep functioning while the project is underway.
The right setup depends on the size of the renovation, how long it will last, and whether you need daily access to your belongings. A bathroom refresh may only require clearing one nearby room. A kitchen remodel, flooring project, or whole-home renovation usually calls for a more deliberate plan.
Start Storage Planning Before Demolition
Waiting until demolition day to decide where everything belongs creates unnecessary work. Before construction begins, walk through the affected rooms and separate belongings into three groups: items you will need during the project, items to pack away, and items to donate, sell, or discard. This reduces the amount you need to move and prevents you from paying to store things you no longer want.
Measure bulky pieces before making a storage decision. Sectional sofas, dining tables, large appliances, and oversized cabinets can be difficult to move through a partly renovated house. Knowing what needs to leave first helps you plan the order of packing and avoid blocking hallways or work areas.
It also pays to ask your contractor which rooms, entrances, and driveways must stay clear. A storage plan that blocks material deliveries or access to the electrical panel will create problems quickly.
Best Renovation Storage Ideas for a Clearer Job Site
1. Use a portable storage container for large household items
For a major renovation, keeping furniture in the garage or another room often just moves the problem around. A portable storage container gives you a dedicated place for furniture, boxed belongings, and seasonal items without filling every unused corner of the house.
On-site storage works especially well when you want access to your belongings during the project. You can load at ground level and pack on your own timeline instead of rushing through a single truck-rental day. If the container needs to be moved later, it can also support a temporary relocation or move after the renovation is finished.
For homeowners in Fort Worth, Amarillo, or Oklahoma City, MODS provides weatherproof steel containers that can stay at the property or be stored at a secure facility when job-site space is limited.
2. Create a protected “keep” room
If one room will remain outside the construction zone, make it the protected room for daily essentials. Keep a small amount of clothing, medications, important paperwork, chargers, pet supplies, and basic toiletries there. Use a door sweep or taped plastic sheeting if dust will be heavy nearby.
Do not use this room as an overflow dumping ground. Its purpose is to make life manageable, particularly if the renovation lasts longer than expected. A clear, organized room can become the calm spot you need at the end of a noisy workday.
3. Pack by room and label for real life
Generic labels such as “kitchen” or “bedroom” are not enough when you are looking for one specific item three weeks into a remodel. Label each box with the room, a short description of its contents, and whether you need access before the renovation ends.
For example, write “Kitchen – serving bowls – access later” or “Office – tax files – do not stack.” Put labels on two sides of every box so they remain visible after stacking. Taking quick photos of box contents before sealing them can also save time when you need to find something later.
4. Keep a small renovation supply station
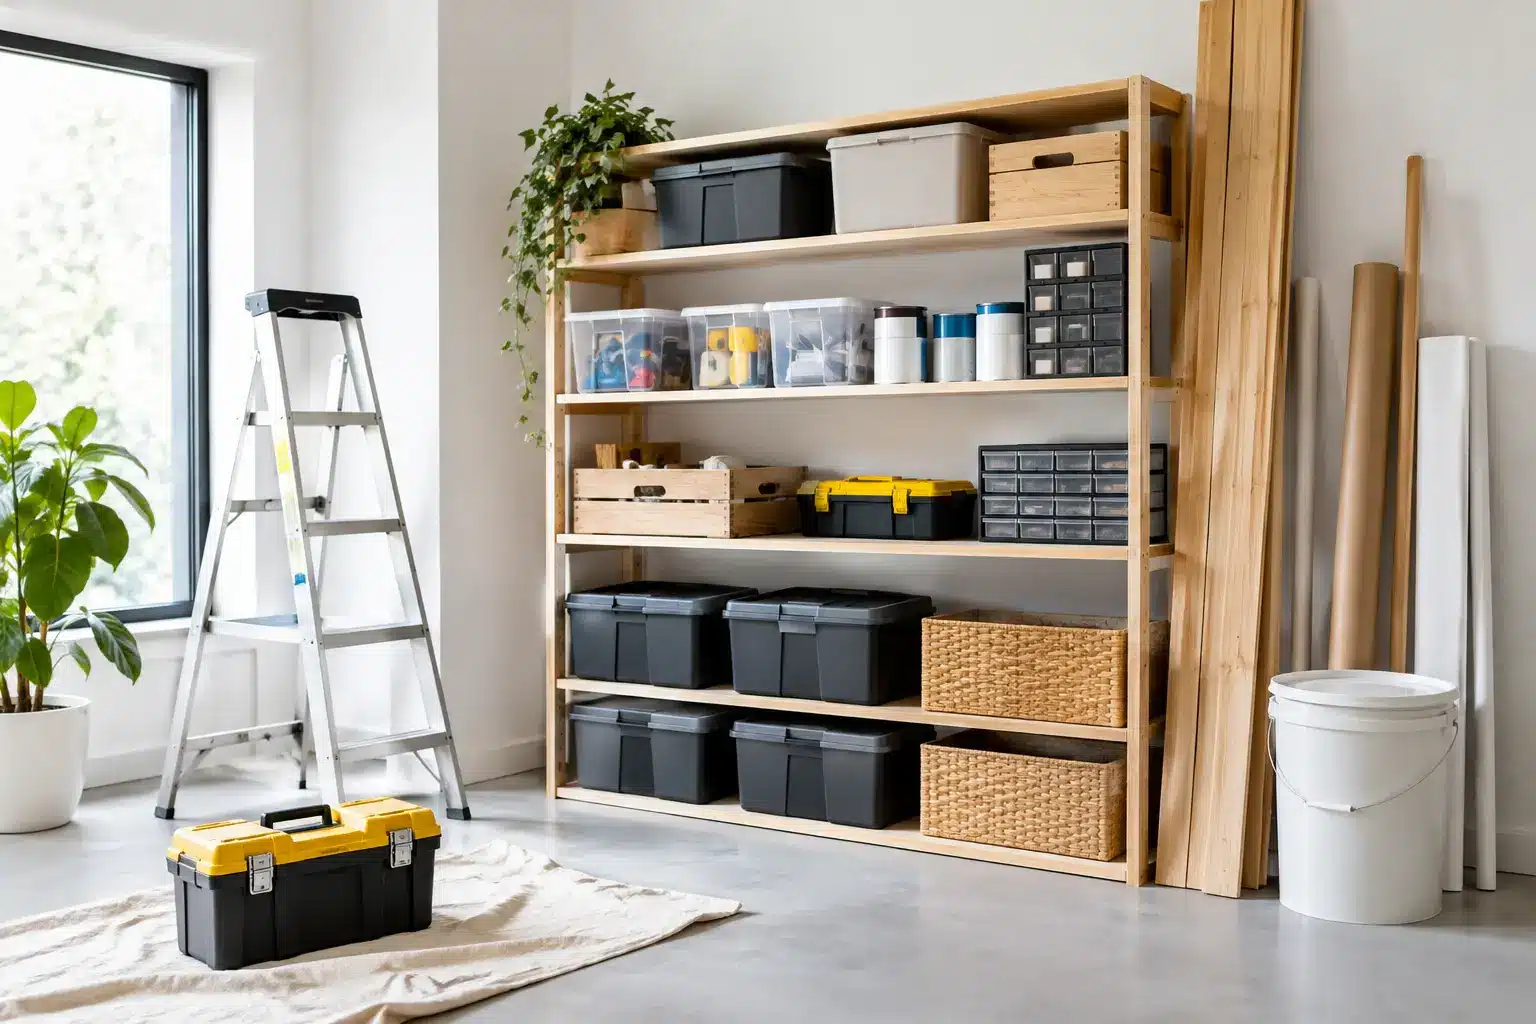
Tools, spare hardware, paint touch-up supplies, and manuals tend to get scattered across the house. Set aside one labeled shelving unit, heavy-duty tote, or locked cabinet for project supplies that you may need after the crew leaves.
This station is useful for items such as outlet covers, cabinet pulls, leftover tile, appliance documents, and paint information. Keep it separate from contractor-owned tools and materials. Clear boundaries reduce confusion and make it less likely that a small but necessary part disappears.
5. Store materials off the floor
Renovation sites are vulnerable to dust, accidental spills, and moisture tracked in from outside. Whenever possible, elevate boxes and materials on shelves, pallets, or sturdy furniture pads. This is particularly useful in garages, basements, and unfinished areas where concrete floors can transfer moisture.
Avoid stacking heavy boxes on fragile ones just because space is tight. Place books, tools, and dense household goods on the bottom. Lighter linens, pillows, and decor should go higher. Leave a narrow aisle through the storage area so you can reach what you need without pulling everything apart.
6. Use clear bins for items you will need often
Cardboard boxes are cost-effective for long-term packing, but clear plastic bins are better for the things your household will use during the renovation. Think school supplies, kids’ activities, cleaning products, basic cooking equipment, or temporary office materials.
Limit these bins to true essentials. If every item is treated as essential, your temporary living space will quickly become cluttered. A few well-marked bins are easier to move between rooms or take to a short-term rental if the renovation requires you to leave the house.
7. Protect furniture for the storage environment
Before storing furniture, clean it and let it dry completely. Wrap upholstered pieces in breathable moving blankets or furniture covers rather than sealing them tightly in plastic for an extended period. Plastic can trap moisture, especially in changing weather.
Use mattress bags for short-term protection and cover wood pieces with moving pads. Remove table legs when practical, bag the hardware, and tape the bag to the underside of the furniture. For electronics, keep cords and remotes together in labeled bags and avoid storing equipment where extreme heat or cold is likely.
8. Set aside a donation and disposal zone
Renovation is one of the best times to reduce what you own, but only if unwanted items are separated right away. Designate one area for donations, recycling, and disposal rather than mixing those items into your stored belongings.
Be realistic about damaged furniture, old paint, outdated electronics, and construction debris. Some materials require special disposal, and they should not be left in a storage container or piled where contractors need to work. Clearing these items early creates more usable space and makes the final move back into the home much easier.
Decide Between On-Site and Off-Site Storage
On-site storage is usually the better choice when you expect to need items throughout the renovation or when moving furniture out of the house is the main goal. It can keep rooms clear while allowing you to retrieve a box, a chair, or seasonal gear without driving across town.
Off-site storage can make more sense when driveway space is limited, local rules restrict container placement, or construction activity makes the property too crowded. It is also useful during a longer project where you do not need regular access to stored items. The trade-off is simple: off-site storage frees up the property, while on-site storage gives you more immediate control.
For either option, consider security and weather protection. A durable container with solid doors and proper ventilation helps protect belongings during a project that may last through changing seasons. Pack heavier belongings low, distribute weight evenly, and leave room near the doors for items you may need first.
Keep the End of the Project in Mind
A good storage plan does more than get possessions out of the way. It makes moving back in less stressful. As the renovation nears completion, bring items back room by room instead of trying to unpack the whole house in a weekend. Start with the rooms your family uses most, then take time to decide whether every stored item still deserves a place in the finished space.
The best storage setup is the one that keeps your project moving without making everyday life harder. Give your belongings a clear destination, keep work areas open, and leave yourself enough flexibility for the inevitable changes that come with renovation.