
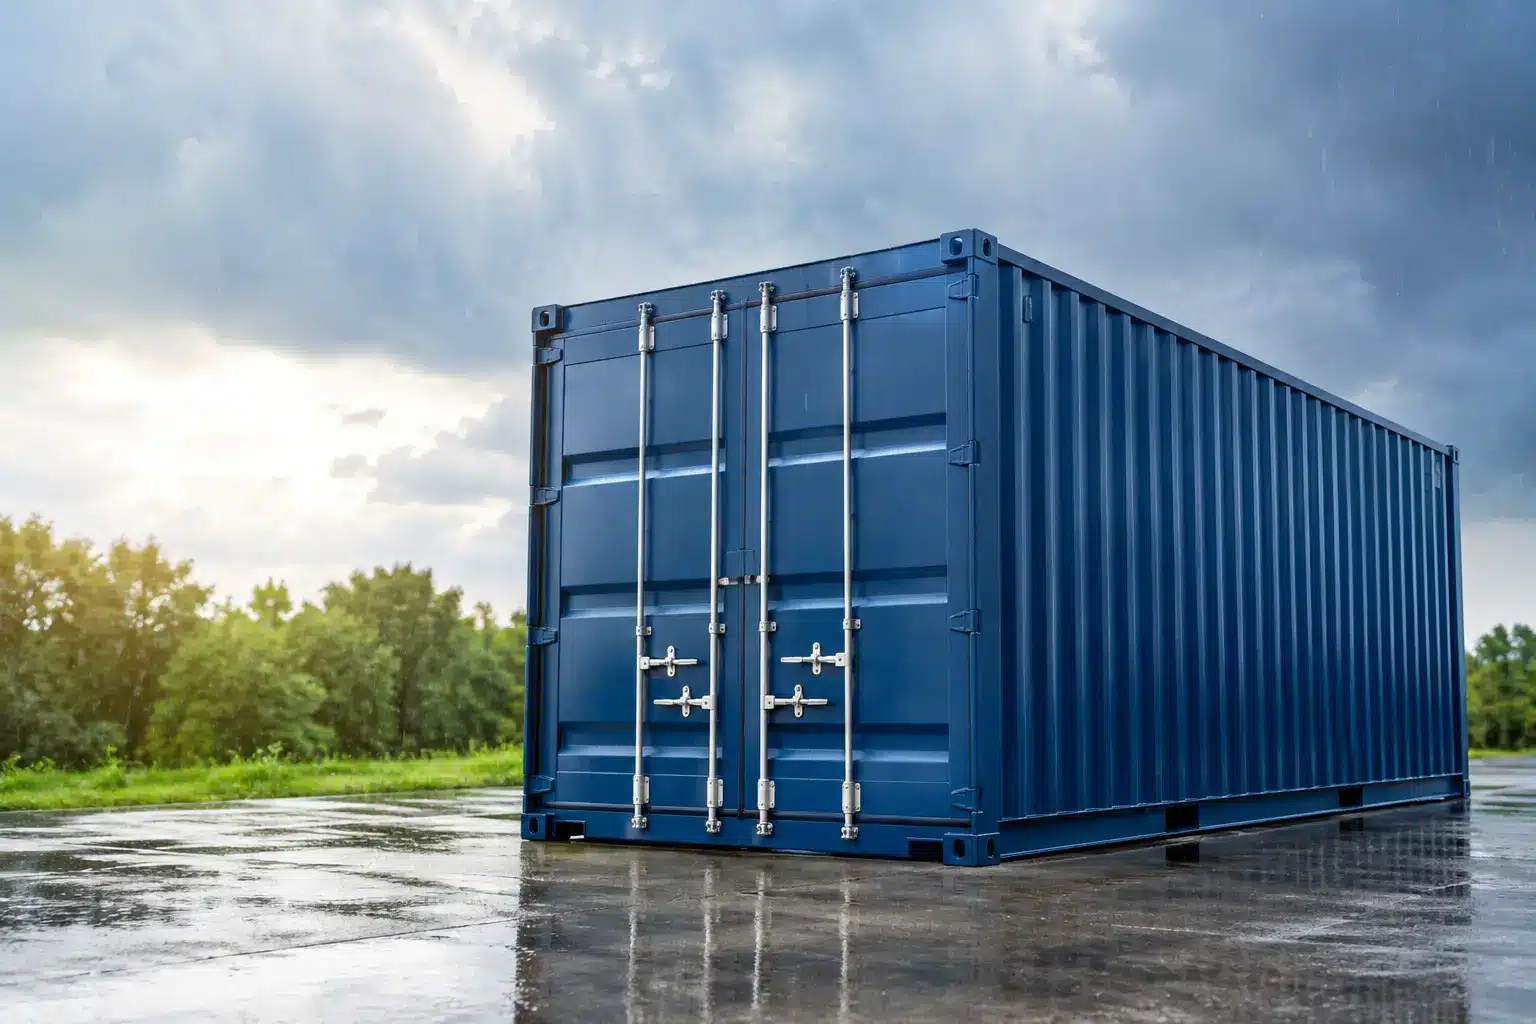
A Guide to Weatherproof Container Storage
A steel storage container is built to handle more than a rainy afternoon, but weatherproofing is not just about the container itself. How you pack, where the container sits, and how often you check it all affect whether your belongings stay clean, dry, and ready to use. This guide to weatherproof container storage explains the practical steps that protect household items, business inventory, tools, and job-site materials through changing Texas and Oklahoma weather.
Start With a Container Built for Weather
A weatherproof storage plan starts with the container. Thin walls, poor door seals, or a damaged roof can turn a short-term storage solution into an expensive problem. A quality steel container should have solid construction, secure doors, working seals, and ventilation that helps manage temperature changes and moisture.
Before loading, inspect the container inside and out. Look at the roofline, corners, floor, door gaskets, and locking hardware. Check for obvious dents, holes, standing water, or signs that a previous leak occurred. Open and close both doors to make sure they seal evenly.
MODS containers are built with steel walls, double-sealed doors, and ventilation to help protect stored items from the elements. Still, no container can make up for wet belongings, careless packing, or poor placement. The goal is to give your items several layers of protection.
Keep Moisture Out Before It Gets Inside
The most common storage damage is not caused by a dramatic roof leak. It comes from moisture that is packed into the container with your belongings. A damp patio chair, wet cardboard box, or recently cleaned rug can raise humidity in an enclosed space and create mildew or odors over time.
Only load items once they are completely dry. If rain interrupts moving day, move wet items under cover and allow them to dry before packing them into the container. This matters especially for fabric furniture, mattresses, rugs, paper records, lumber, and clothing.
Use plastic storage bins for items that are especially sensitive to moisture. They are a better choice than worn cardboard for documents, electronics, linens, photographs, and small tools. Cardboard is still useful for many household goods, but use sturdy, sealed boxes and keep them off the floor whenever possible.
Raise Items Off the Floor
A container floor is designed to carry weight, but lifting your contents slightly off the floor is a smart precaution. Use pallets, furniture risers, or a few evenly placed boards beneath boxes and furnishings. This creates an air gap and adds protection if water is tracked in during loading or if humidity collects near the floor.
Do not stack everything directly against the walls. Leave a small amount of space around the edges where practical. That airflow can help reduce condensation, and it makes it easier to spot a concern before it affects the entire load.
Use Moisture Control Where It Makes Sense
Desiccant packs or moisture-absorbing products can be helpful for long-term storage, particularly when storing paper goods, electronics, textiles, or metal tools. They are not a substitute for a dry container and dry packing materials, but they can provide extra insurance.
The right amount depends on the container size, local conditions, and how long you expect to store your items. Check and replace moisture absorbers according to their instructions. If you are storing items for several months, plan periodic inspections instead of loading the container and forgetting about it.
Pack for Heat, Cold, and Temperature Swings
Weatherproof container storage also means planning for temperature. Steel containers can get warm in direct summer sun, and temperatures can change quickly during seasonal weather shifts. Ventilation helps, but sensitive items may need a different plan.
Avoid storing candles, aerosol cans, paint, propane cylinders, gasoline, batteries that require controlled conditions, or anything flammable or hazardous. Many of these items can be damaged by heat or create a safety risk. Check local rules and the storage provider’s prohibited-items policy before packing.
For electronics, musical instruments, vinyl records, valuable artwork, delicate antiques, and some medications, climate-controlled storage may be the better choice. A portable container is excellent for most furniture, boxed household goods, tools, equipment, and nonperishable inventory. It is not the ideal environment for every item.
Wrap wood furniture in moving blankets or breathable furniture pads. Plastic wrap can help hold drawers and padding in place, but wrapping wood or upholstered items too tightly for a long period can trap moisture. When storage will last months rather than weeks, breathable covers are usually the safer option.
Choose a Level, Well-Drained Placement Area
Where a container is delivered makes a real difference. Choose a firm, level surface that drains well after rain. A concrete driveway, compacted gravel area, or stable job-site surface is generally preferable to soft ground that can become muddy or uneven.
Avoid low spots where water collects. Keep the door end accessible, and think ahead about how water flows across the property during a hard rain. If the container is placed beneath trees, watch for falling limbs, sap, and heavy leaf buildup around the roof and doors.
For job sites, placement should also account for equipment traffic and changing ground conditions. Do not place a container where trucks, skid steers, or deliveries will repeatedly crowd the doors. A clear approach makes loading safer and reduces the chance of accidental damage.
Protect the Door Area
Container doors need room to open fully and close tightly. Keep boxes, loose debris, dirt, and leaves away from the threshold. If debris gets caught in the door seal, it can prevent a proper closure.
After loading, close both doors fully and confirm that the locking points engage correctly. Use a quality lock designed for outdoor use. A protected-shackle or disc-style lock can offer better resistance to cutting and weather than a basic padlock.
Load With Stability in Mind
A dry container is only part of the equation. Your belongings also need to stay put when the container is picked up or transported. Load heavy items first and distribute weight across the floor instead of creating one heavy stack near the doors.
Place heavier boxes and appliances low, then build upward with lighter boxes. Keep fragile items away from gaps where they could shift. Use moving blankets, stretch wrap, straps, and blocking materials to secure furniture, equipment, or uneven loads.
This is particularly important when the container will be moved after loading. A Level Lift delivery system keeps a container level during transport, which helps reduce shifting. Even so, good packing is still the first line of defense. Think of every item as if it may travel over a rough patch of road, because eventually it might.
Check Long-Term Storage Periodically
For a short move, you may only need to inspect the container once before pickup. For seasonal or long-term storage, check it periodically if you have access. Look for signs of moisture, pests, damaged boxes, or items that have settled or shifted.
Open the doors on a dry day and check the floor, corners, and ceiling. If you notice condensation, improve airflow around stored items and replace moisture absorbers. If a box feels soft or smells musty, address it right away instead of assuming the problem is limited to one container.
Businesses and contractors should also keep an inventory of stored materials, tools, or records. Label boxes clearly on more than one side, and keep a simple list of what is inside. That reduces unnecessary searching, which means less time standing in an open container during bad weather.
Know When Off-Site Storage Is the Better Fit
On-site storage gives you direct access and keeps items close during a renovation, move, or construction project. It works especially well when you need to load gradually or retrieve tools and materials often. Off-site storage may be a better fit when driveway space is limited, a project is finished, or you want belongings held securely until your next move.
The weatherproofing steps remain the same either way: pack dry, protect sensitive items, distribute weight, and use the right container for the job. The difference is simply where the container waits while your timeline takes shape.
Good storage should remove pressure, not create another chore. A dry, well-packed container lets you work on your schedule while keeping the things you need protected until it is time to unload.